How to Create a Shot list for your branding photo shoot
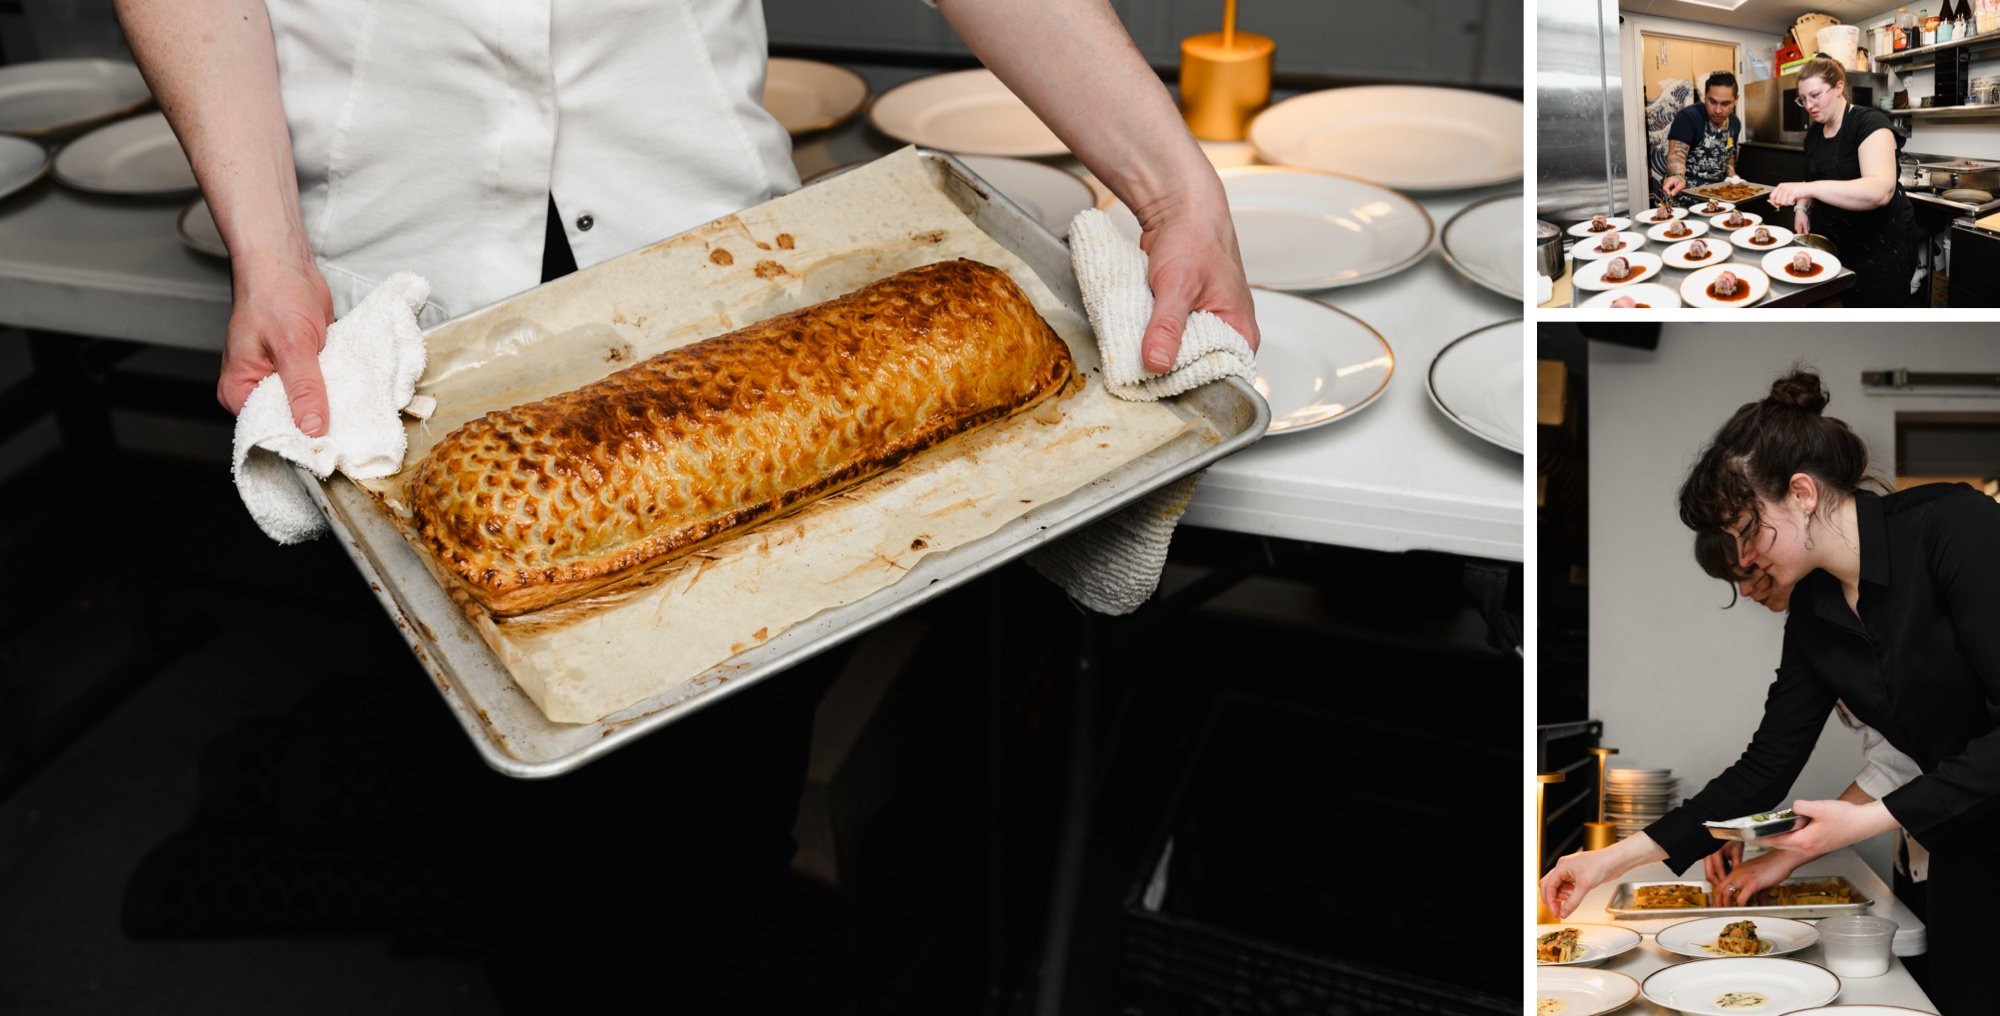
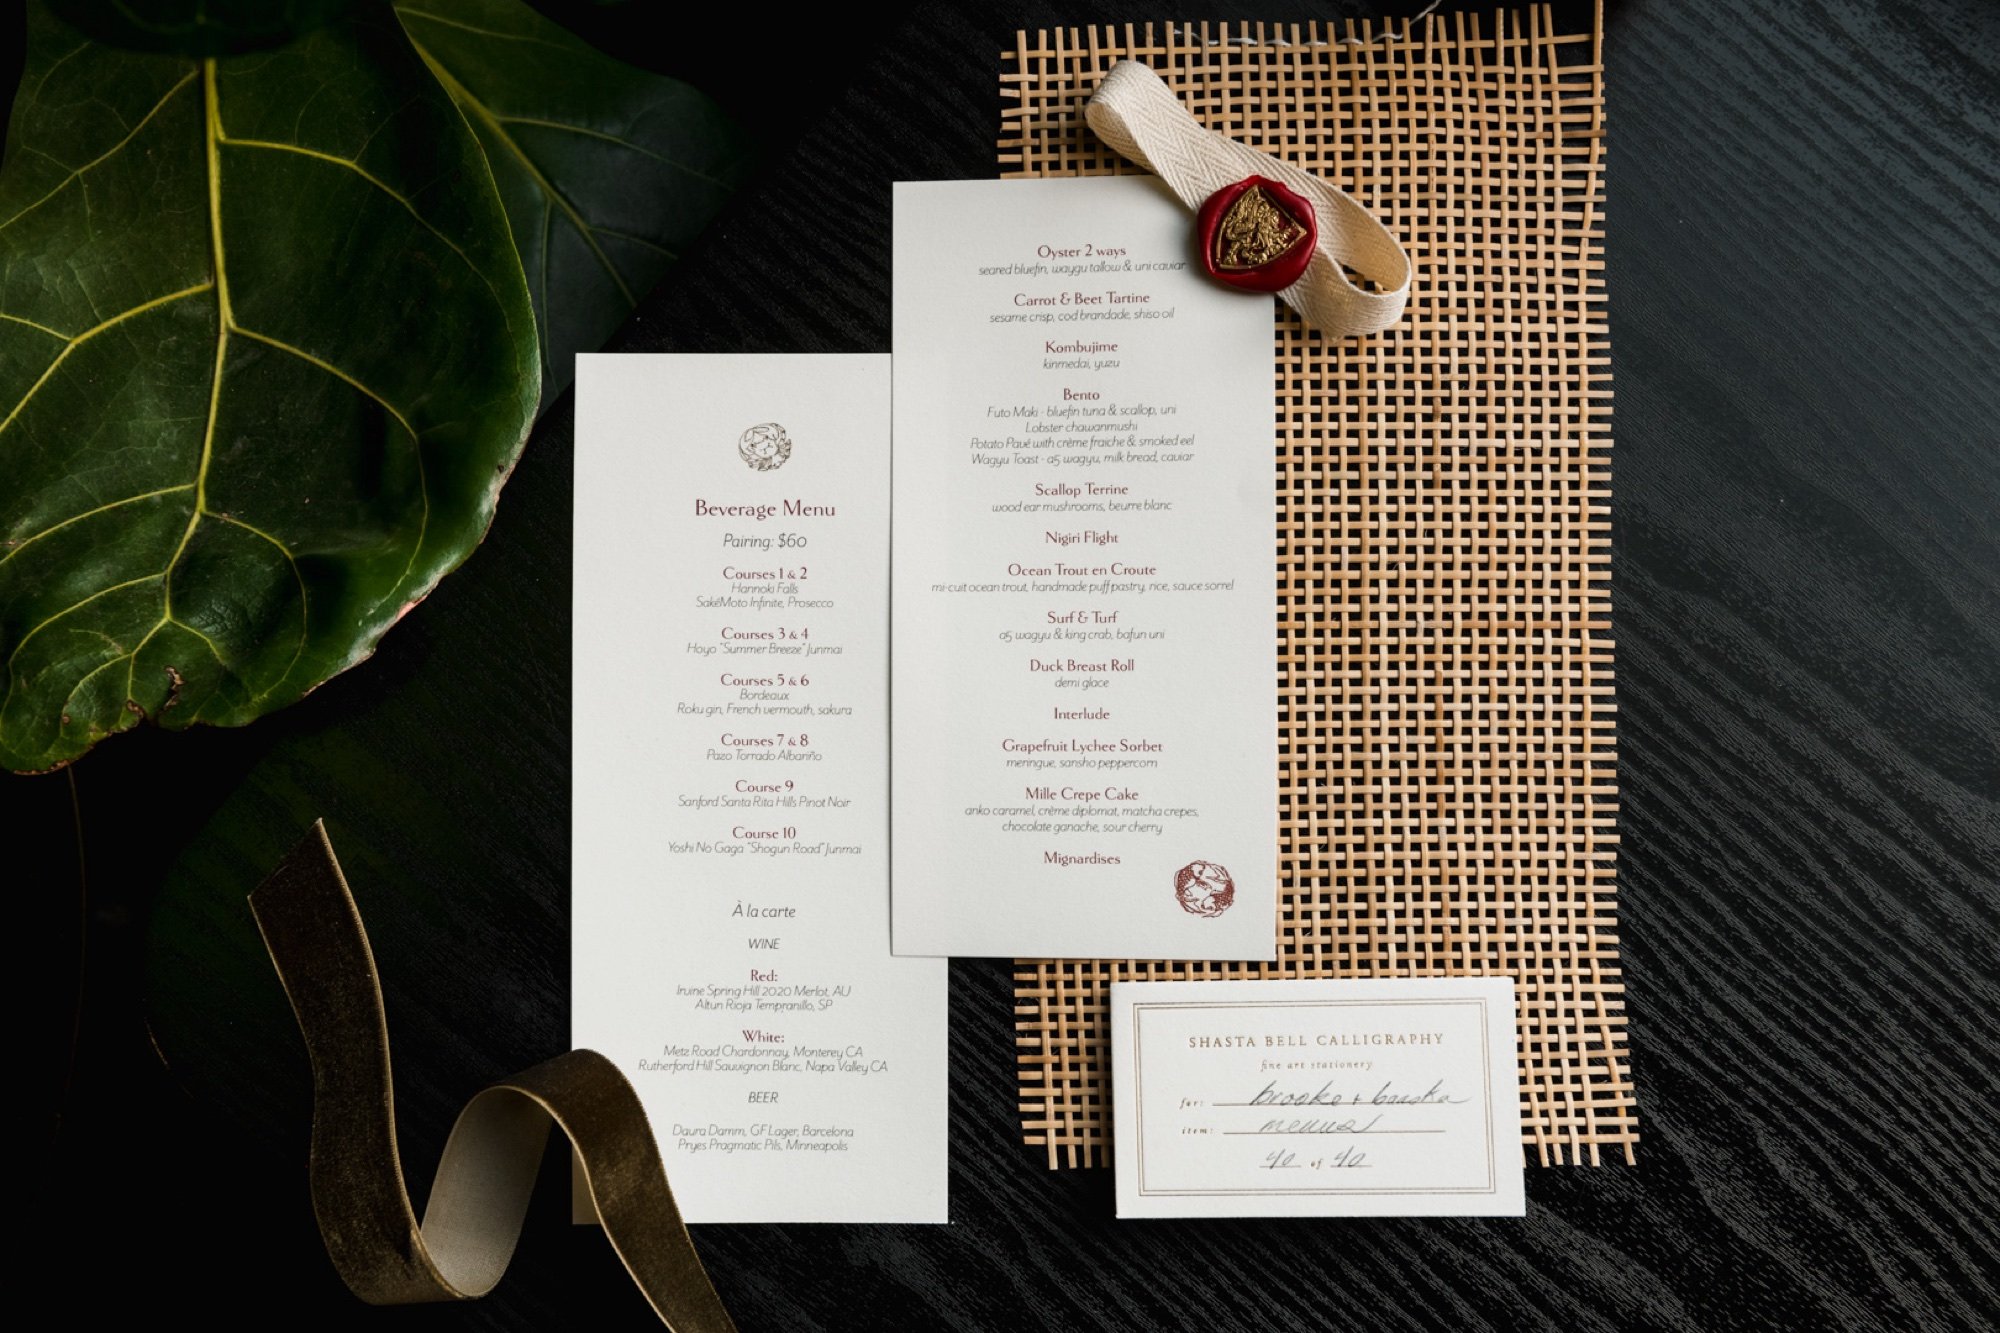
Hey there, fellow creatives! If you're gearing up for a product branding photo shoot, you're likely excited about capturing your brand in eye-catching visuals. But before you grab your camera or call in your photographer, there’s one crucial step that can make or break the success of your shoot: building a shot list. Think of it as your treasure map to ensure every shot reflects your brand's unique personality. Let’s explore the art of creating a killer shot list (with photo inspiration from my shoot with Brooke Faudree and Sushi by Baaska)!
Why a Shot List is Your Best Friend
Imagine heading into a photo shoot without a plan. Chaos, right? A shot list is your blueprint, keeping you organized and focused. It ensures you cover all your bases, capture a variety of images, and ultimately save time and stress. Plus, it helps communicate your vision to your photographer and team, ensuring you’re all on the same creative page.


A Step-by-Step Guide to Create the Perfect Shot List
Step 1: Define Your Brand Story & Personality
Before jotting down shots, think about your brand’s story. What message do you want to convey through these images? Are you a minimalist brand with clean, sleek lines, or are you vibrant and full of life? Your brand's personality will dictate your photos' style, so brainstorm the mood and emotions you want each shot to evoke. Spend some time brainstorming adjectives that describe your brand. Then, take it a step further by creating buyer personas and contextual product usage. Make adjustments and home in on your brand's personality as much as possible.
Step 2: List Your Products and Prioritize
Once you have a clear brand narrative, list all the products you plan to shoot. Prioritize them by importance and consider which ones need more attention or creative angles. Perhaps you have a new launch or a best-seller that requires fresh images for your marketing materials.
Step 3: Identify Your Must-Have Shots
Next, make a list of the essential shots you need. Start with the basics (this is just a starting point and not your official shot list):
Pack Shot: Capture your product alone on a plain backdrop from different angles—front, back, sides, and top-down shots.
Product in Use: Include shots showing your product in action: someone using it, wearing it, or interacting with it somehow.
Lifestyle Shots: These images tell a story and show your product in a real-life setting. Think about the environments or scenarios that best represent your brand.


Step 4: Get Inspired
Now comes the fun part—research and gather inspiration! Browse through Pinterest, Instagram, or your favorite magazines and ads. Save images that resonate with your brand’s vibe. Pay attention to composition, lighting, and styling to help you visualize your shoot and identify key elements you want to incorporate. Don't forget to take notes as you go! (I always think I'll remember the details later but inevitably forget if I don't make a clear note.)
Once you narrow down your inspiration, you can apply your notes to your list of must-have shots.
Step 5: Consider Composition and Style
Next, go back through your list and notes and think about the composition of each shot. Do you want your product centered or perhaps off to the side? What about depth of field—do you want a sharp focus throughout or a dreamy, blurred background? Also, consider your color palette and how it aligns with your brand colors.
Step 6: Plan for Variety
Variety is the spice of life—and your photo shoot! Aim to capture a mix of wide shots, close-ups, and medium shots to give you flexibility in using your images. Don’t forget about vertical and horizontal orientations, especially if you plan to use the photos across different platforms (having a few hero image versions is a must!).


Step 7: Create a Detailed Shot List
Now that your creativity is flowing, it’s time to create a detailed shot list. Break it down into categories. Under each category, jot down the specifics of what you need for production, including props, backgrounds, and lighting conditions. Here are some shots to consider:
Hero Shots: These are your power players, the banner images that make your product the lead in its own action film. Capture it from its best angles, highlighting key features. Imagine your product as a supermodel: bold, commanding, and maybe a bit dramatic.
Detail Shots: Get up close and personal. Show off the intricate details that make your product unique. Think of these as the intimate close-ups in your product’s movie—sultry, inviting, and revealing just enough to leave them wanting more.
Lifestyle Shots: Set the scene! Show your product in action, living its best life. These shots tell a story and connect with your audience on a personal level. It’s like your product on a date—charming, engaging, and maybe a little cheeky.
Contextual Shots: Place your product in a setting that makes sense. A beach ball on a snowy mountain? Confusing. A beach ball at a summer picnic? Perfect! These shots are the supporting cast, making your product the star.
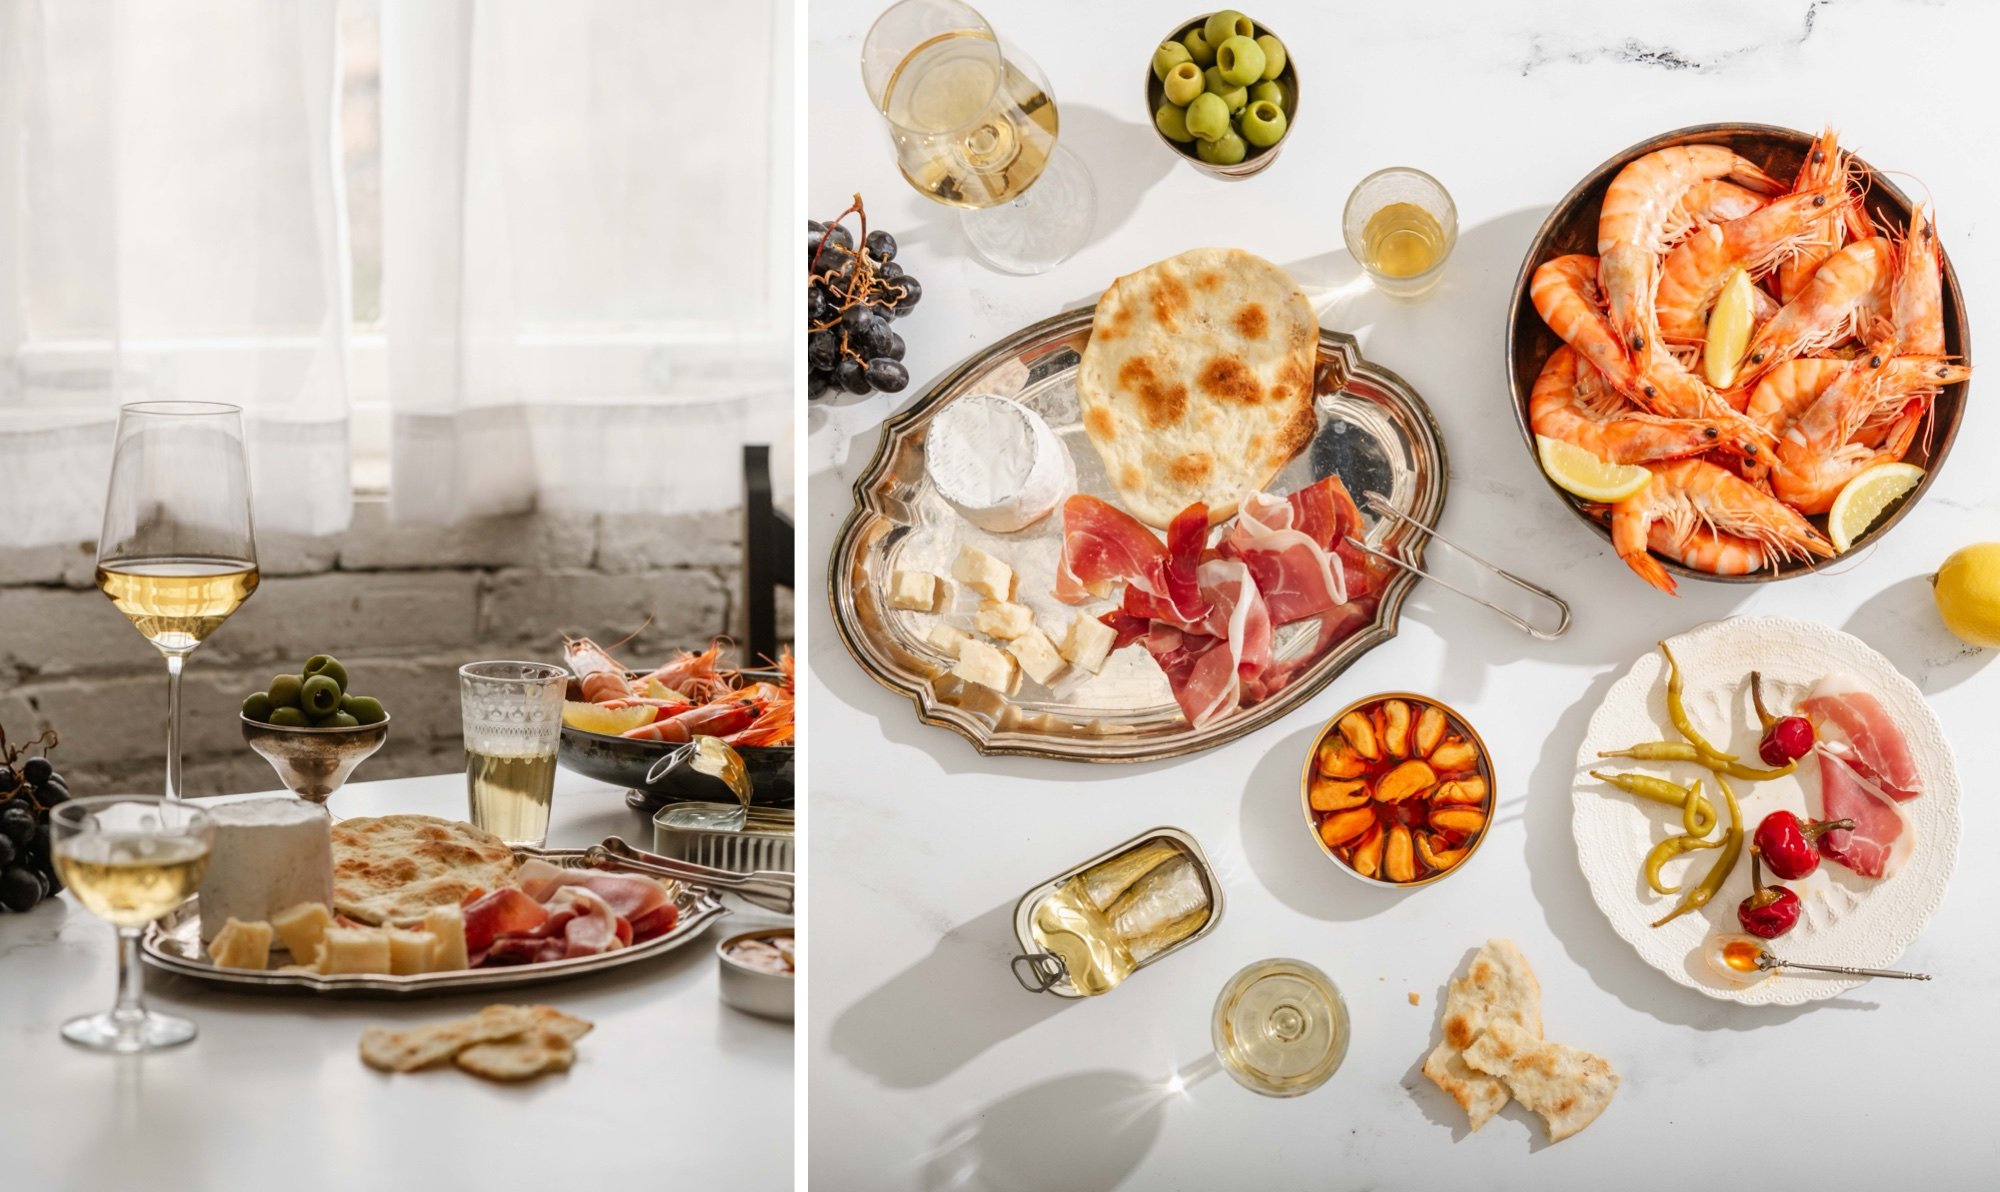
Flat Lays & Arrangements: For the love of symmetry and Instagram aesthetics, put your product in a flat lay. Arrange it with complementary items that enhance its allure. It’s a visual buffet, and everyone’s invited.


Here’s a simple example of a shot list outline:
Pack Shots
Front view on white background
Side view on wooden table
Top-down view with color-blocking
Lifestyle Shots
Product on kitchen counter with morning light
Product in an on-the-go handbag with casual wear
Detail Shots
Close-up of textures and materials
Close-up of logo/branding


Step 8: Share with Your Team
Once you’ve crafted your shot list, share it and collaborate with your photographer and anyone else involved to ensure everyone is on the same page and can prepare accordingly.
Step 9: Be Open to Creativity & Outside Insight
While having a shot list is essential, remember to leave room for creativity. Sometimes, the best shots are the spontaneous ones that weren’t planned. Or, something you thought would look great doesn't quite work. Trust your photographer’s expertise and be open to trying new ideas on the day of the shoot.
Step 10: The Grand Finale
Voila! You’re now equipped to conquer your next product branding photo shoot like a boss. A well-crafted shot list will save you time and ensure your photo shoot is a masterpiece of creativity and organization. Plus, your team will feel involved and in the loop. So go forth, snap some killer shots, and let your product shine like the star it is.

